


 Like
Like Share
Share
 Report
In this blog post, I will not go through each step as it is not much different with the installation process compared to previous versions. I want to highlight few new things which most people will not notice during the installation process.
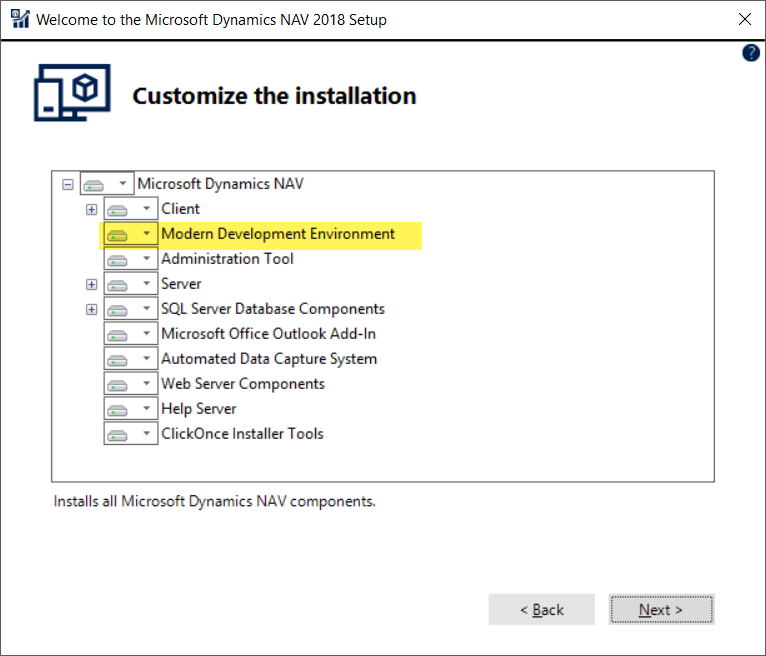
In most of the time, I use the Customize installation option as it allows me to select individual components I want to install. In this instance, also I select the Customize option.
If you want to work with new development tool (to develop extensions) you want to enable "Modern Development Environment". By default, it is enabled and you do not have to do anything. If you not planning to work with new development tool then you can remove it from installation.
In the very next step, you will find another 2 new fields (it is growing by each version) which are related to new Developer tool.
- Field 1: "Developer Service Port"
- Field 2: "Developer Service Enabled"
Developer Service is disabled by default, so you need to enable it (YES)

Once you pass the above step, everything is similar to previous version installation.
If you have already installed Microsoft Dynamics NAV 2018 without enabling the "Developer Service" then you can go to Dynamics NAV instance and change the settings (Restart instance after the changes)

Or
If you like to use PowerShell to change the port numbers (Try to make it a habit to use PowerShell as much as possible) you can use cmdlet
 Set-NAVServerConfiguration <InstanceName> -KeyName 'DeveloperServicesPort' -KeyValue <PortNumber>
 Set-NAVServerInstance <InstanceName>-Restart -Verbose
Good luck!!
Please provide your feedback with a comment.
Thank you and Regards,
Tharanga Chandrasekara
Thank you and Regards,
Tharanga Chandrasekara
*This post is locked for comments